Kubernetes introduction and how it's helping Salesforce scale
This blog post is for everyone who want to understand Kubernetes and how it is helping Salesforce scale. As in my previous blogposts, lets learn Kubernetes with a Hands-on exercise. As an app developer it is very important to understand the value that Kubernetes brings in more than the architecture. Say that your team is deploying an ordinary Node application. You’ve run some calculations and determined that you need five instances of your app running at any given time, in order to handle external traffic. If you’re not running Kubernetes or a similar automated system, you might find the following scenario familiar:
- One instance of your app (a complete machine instance or just a container) goes down.
- Because your team has monitoring set up, this pages the person on call.
- The on-call person has to go in, investigate, and manually spin up a new instance.
- Depending how your team handles DNS/networking, the on-call person may also need to also update the service discovery mechanism to point at the IP of the new Rails instance rather than the old.
This process can be tedious and also inconvenient, especially if (2) happens in the early hours of the morning! If you have Kubernetes set up, however, manual intervention is not as necessary. The Kubernetes control plane, which runs on your cluster’s master node, gracefully handles (3) and (4) on your behalf. As a result, Kubernetes is often referred to as a self-healing system.
There are two key parts to the Kubernetes control pane:
Kubernetes API server
For Kubernetes to be useful, it needs to know what sort of cluster state you want it to maintain. Your YAML or JSON configuration files declare this desired state in terms of one or more API objects, such as Deployments. To make updates to your cluster’s state, you submit these files to the Kubernetes API server (kube-apiserver). Examples of state include but are not limited to the following:
- The applications or other workloads to run
- The container images for your applications and workloads
- Allocation of network and disk resources
Note that the API server is just the gateway, and that object data is actually stored in a highly available datastore called etcd. For most intents and purposes, though, you can focus on the API server. Most reads and writes to cluster state take place as API requests.
Controllers
Once you’ve declared your desired state through the Kubernetes API, the controllers work to make the cluster’s current state match this desired state. The standard controller processes are kube-controller-manager and cloud-controller-manager, but you can also write your own controllers as well.
All of these controllers implement a control loop. For simplicity, you can think of this as the following:

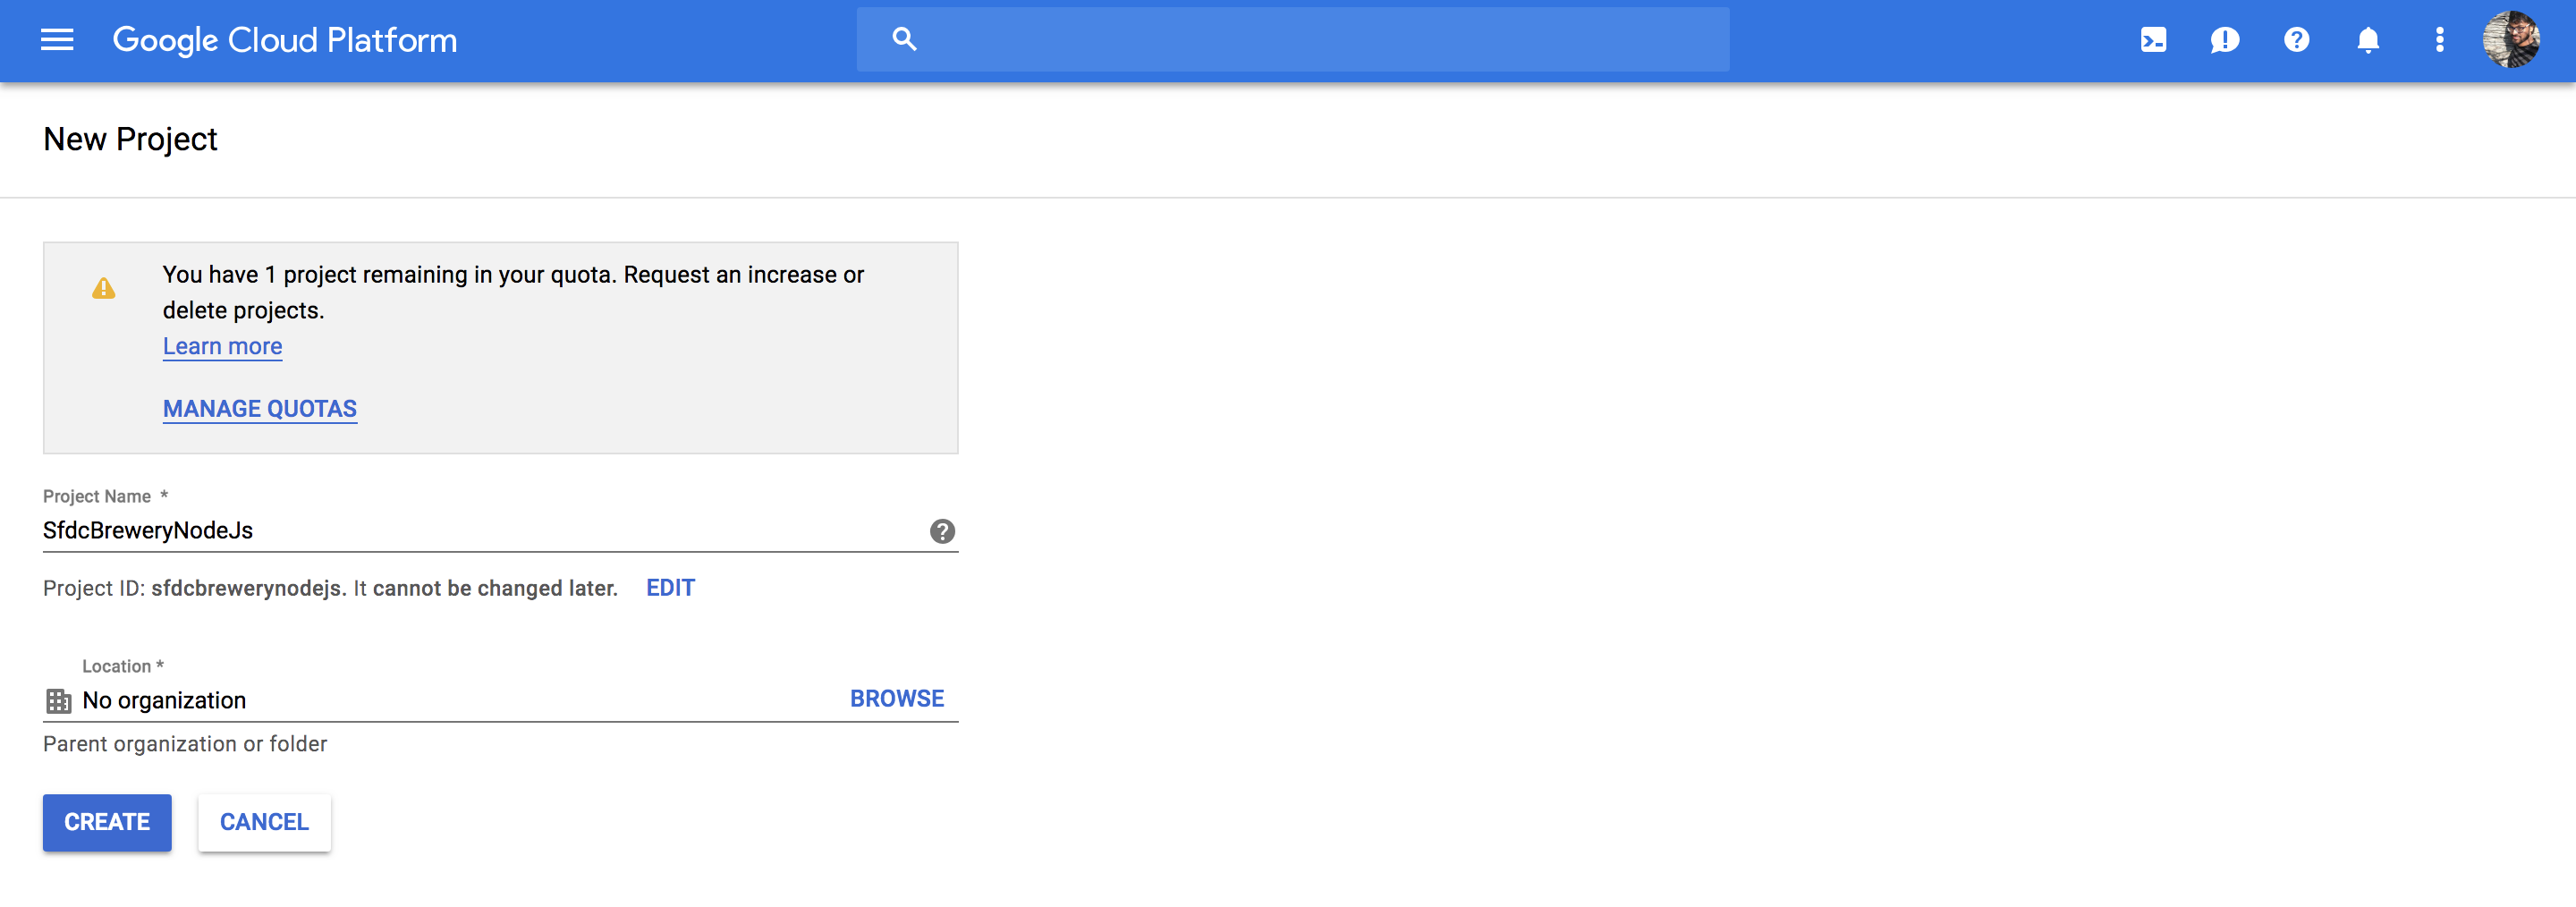
If you don’t already have a Google Account (Gmail or Google Apps), you must create one. Sign-in to Google Cloud Platform console and create a new project:
Deploying a containerized web application
This tutorial shows you how to package a web application in a Docker container image, and run that container image on a Kubernetes Engine cluster as a load-balanced set of replicas that can scale to the needs of your users.
Pre-requesites:
Enable the Kubernetes Engine API:
- Visit the Kubernetes Engine page in the Google Cloud Platform Console.
- Create or select a project.
- Wait for the API and related services to be enabled.
Hands-on exercise
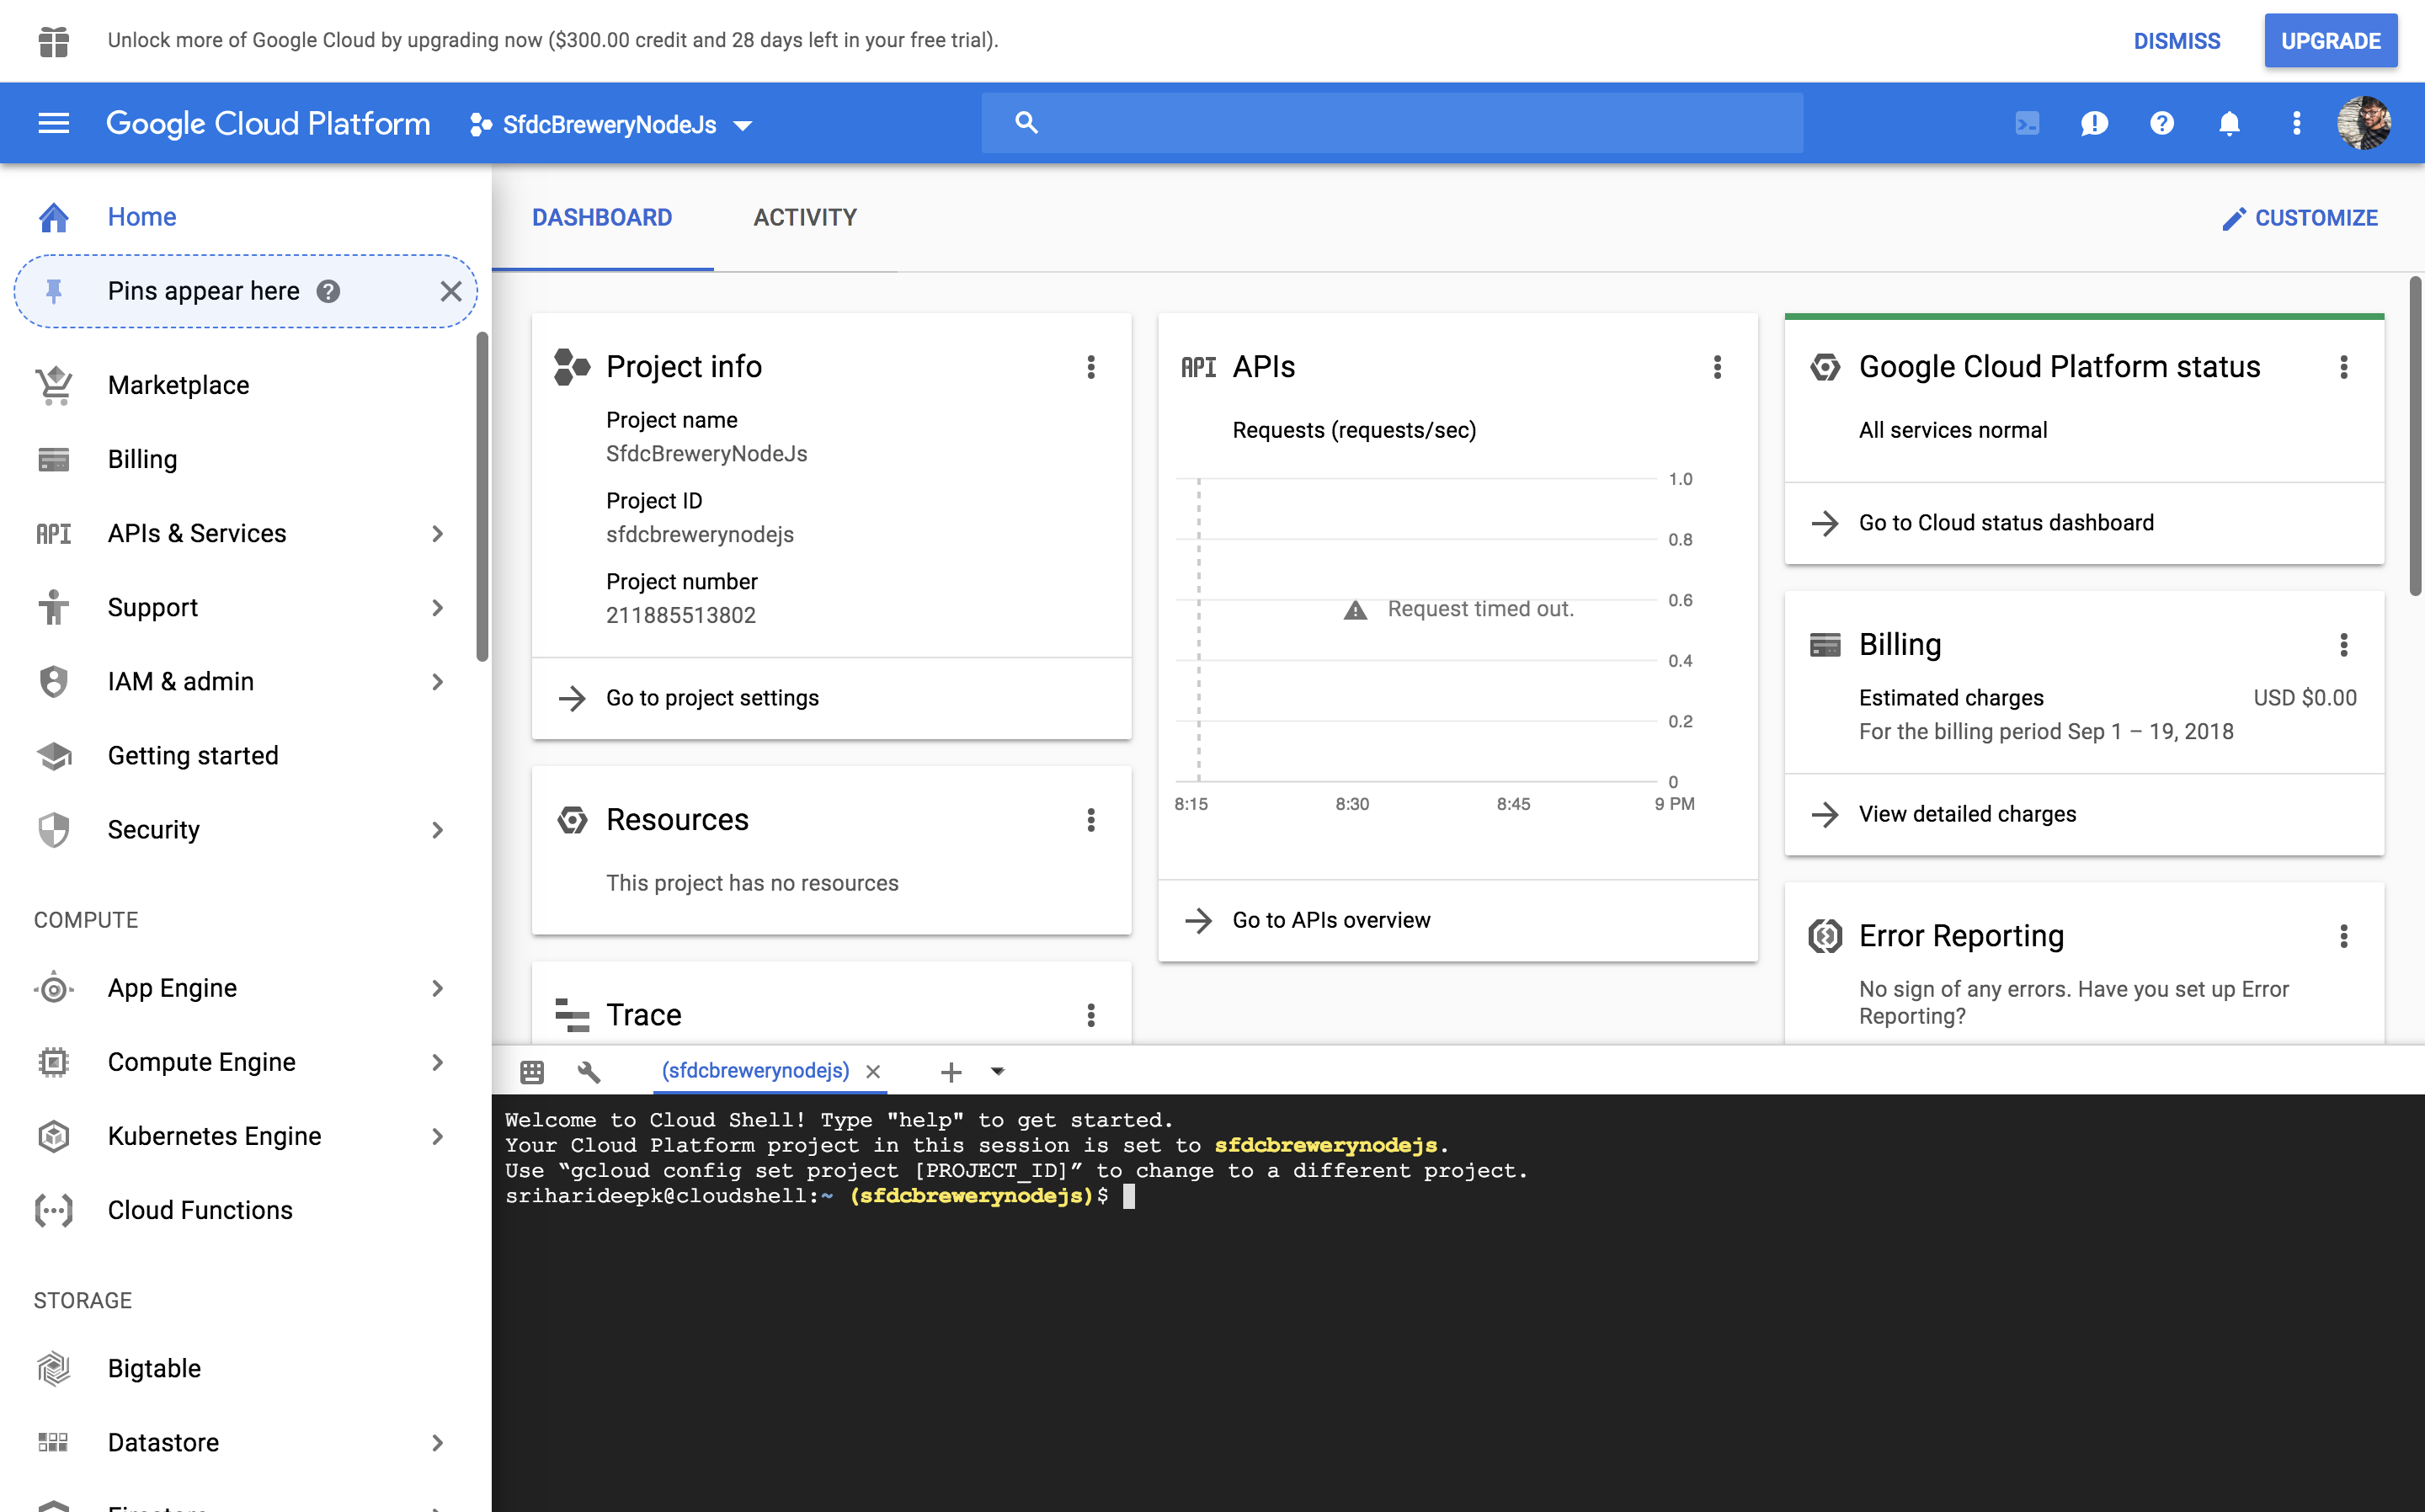
Using Google Cloud Shell, which comes preinstalled with the gcloud, docker, and kubectlcommand-line tools used in this tutorial. If you use Cloud Shell, you don’t need to install these command-line tools on your workstation. To use Google Cloud Shell:
- Go to the Google Cloud Platform Console.
- Click the Activate Cloud Shell button at the top of the console window.

In the console, set defaults for the gcloud command-line tool
gcloud config set project PROJECT_ID
gcloud config set compute/zone us-central1-b

Lets deploy a sample web application called hello-app, web server written in Go that responds to all requests with the message “Hello, World!” on port 80.
To download the hello-app source code, run below commands:
git clone https://github.com/GoogleCloudPlatform/kubernetes-engine-samples
cd kubernetes-engine-samples/hello-app
Set the PROJECT_ID environment variable in your shell by retrieving the pre- configured project ID on gcloud by running the command below:
export PROJECT_ID="$(gcloud config get-value project -q)"
The value of PROJECT_ID will be used to tag the container image for pushing it to your private Container Registry. To build the container image of this application and tag it for uploading, run the following command:
docker build -t gcr.io/${PROJECT_ID}/hello-app:v1 .
This command instructs Docker to build the image using the Dockerfile in the current directory and tag it with a name, such as gcr.io/my-project/hello-app:v1. The gcr.io prefix refers to Google Container Registry, where the image will be hosted. Running this command does not upload the image yet.
Configure Docker command-line tool to authenticate to Container Registry :
gcloud auth configure-docker
You can now use the Docker command-line tool to upload the image to your Container Registry:
docker push gcr.io/${PROJECT_ID}/hello-app:v1
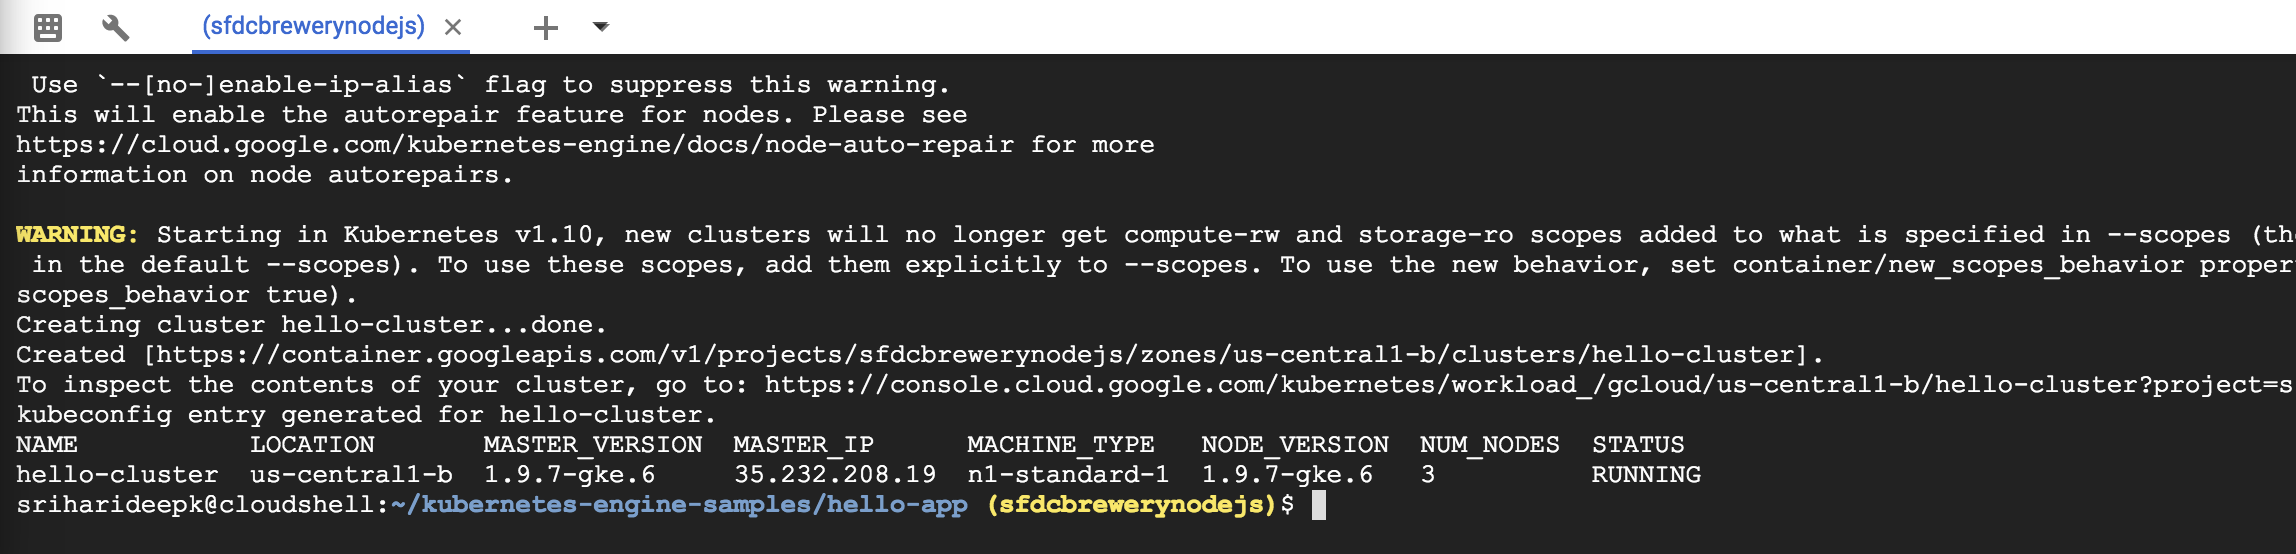
Now that the container image is stored in a registry, you need to create a container cluster to run the container image. A cluster consists of a pool of Compute Engine VM instances running Kubernetes, the open source cluster orchestration system that powers GKE.
Once you have created a GKE cluster, you use Kubernetes to deploy applications to the cluster and manage the applications’ lifecycle.
gcloud container clusters create hello-cluster --num-nodes=3
Once the command has completed, run the following command and see the cluster’s three worker VM instances:
gcloud compute instances list
To deploy and manage applications on a GKE cluster, you must communicate with the Kubernetes cluster management system. You typically do this by using the kubectl command-line tool. Kubernetes represents applications as Pods, which are units that represent a container (or group of tightly-coupled containers). The Pod is the smallest deployable unit in Kubernetes. In this tutorial, each Pod contains only your hello-app container.
Run the following command to deploy your application, listening on port 8080:
kubectl run hello-web --image=gcr.io/${PROJECT_ID}/hello-app:v1 --port 8080
Now see the Pod created by the deployment.
kubectl get pods

By default, the containers you run on GKE are not accessible from the Internet, because they do not have external IP addresses. You must explicitly expose your application to traffic from the Internet, run the following command:
kubectl expose deployment hello-web --type=LoadBalancer --port 80 --target-port 8080
GKE assigns the external IP address to the Service resource—not the Deployment. If you want to find out the external IP that GKE provisioned for your application, you can inspect the Service with the kubectl get service command:
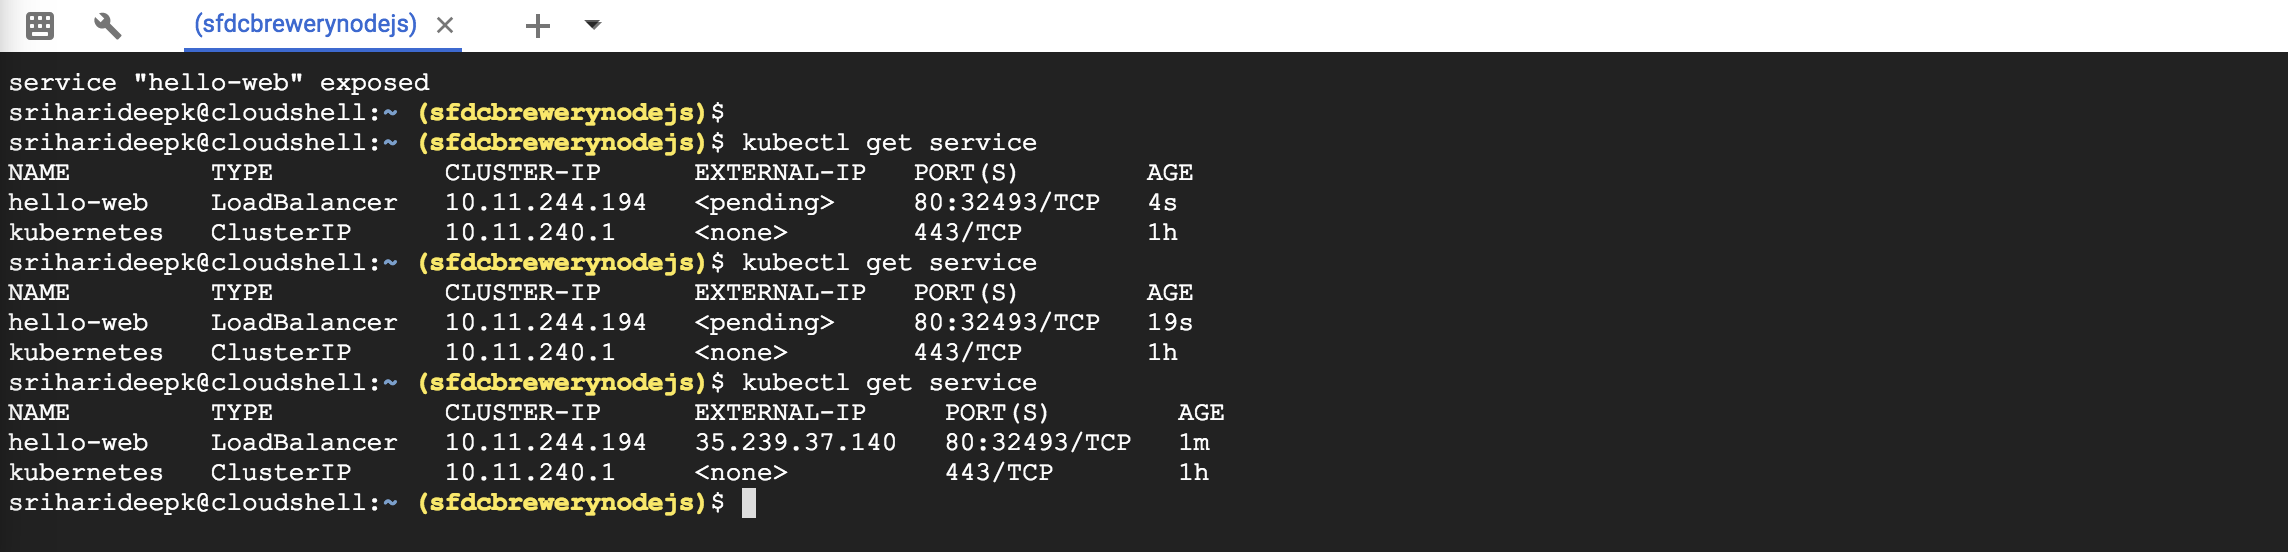
Once you’ve determined the external IP address for your application, you can try visiting it in your browser.

You add more replicas to your application’s Deployment resource by using the kubectl scale command. To add two additional replicas to your Deployment (for a total of three), run the following command:
kubectl scale deployment hello-web --replicas=3
Check the status
kubectl get deployment hello-web
Multiple instances of your application running independently of each other and you can use the kubectl scale command to adjust capacity of your application. The load balancer you provisioned in the previous step will start routing traffic to these new replicas automatically.
After completing this tutorial, follow these steps to remove the following resources to prevent unwanted charges incurring on your account: Delete the Service: This step will deallocate the Cloud Load Balancer created for your Service:
kubectl delete service hello-web
Wait for the Load Balancer provisioned for the hello-web Service to be deleted: The load balancer is deleted asynchronously in the background when you run kubectl delete. Wait until the load balancer is deleted by watching the output of the following command:
gcloud compute forwarding-rules list
Delete the container cluster: This step will delete the resources that make up the container cluster, such as the compute instances, disks and network resources.
gcloud container clusters delete hello-cluster
Salesforce also uses Kubenretes to manage and scale its infrastructure. Steve Sandke’s session session at Cloud Native Con 2017 talks about how Kubernetes is used to achieve the mission of Software defined everything at Salesforce Simple model:
- Deployment artifacts are containers
- Provide a health probe
- Declare your desired deployment state
Here are the reasons why we should consider Microservices over monolithic software:
- Service ownership - Move from monolithic software model to smaller
- Recovery- oriented software architectures
- Scale out architectures
- Simple and consistent hardware
- Improve availability of platform
Here are the reasons why you should consider Kubernetes?
- Open source, container based
- High development velocity
- Opportunity to effect direction
- Opp to build it
- Broad based community
- Project vision aligned with our own.
I strongly recommend watching Steve Sandke’s session to understand how Salesforce is putting Kubernetes into action to scale the infrastructure.