Put the REST API to Peace with GraphQL on Heroku

GraphQL is a data query language developed by Facebook under MIT license. It is not tied to any specific database or specific programming language or storage.
It provides a way to define the complete description of data in a schema and allows the client to ask for what they need, simply returns the response in JSON.

WTH did Facebook come up with GraphQL?
Back in 2012, Facebook was working on their mobile application for Android and iOS platform. They had to make changes in the REST services according to the mobile platform. To resolve this, either make a different REST API for the Android and iOS platform or do handling at multiple places in a rest service. Sometimes in large codebase it becomes very messy and frustrated to manage it and multiple versioning of the API’s.
I see that sometimes we have a lot of attributes in the response of the rest API’s which sometimes is not useful for the client always, so devices which are on low network bandwidth have to wait long to get big JSON.
Here, the Facebook team started to work on GraphQL to solve these problems and rethink data fetching way for devices, especially which are on low network bandwidth. It moved to focus on developers at client side to ask what they need.
Why should we as developers consider using GraphQL?
As more variety of APIs are placed in production use and scaled to extreme levels, certain problems in RESTful architecture transpired. You could even say GraphQL is between SOAP and REST taking pieces from each.
GraphQL brings order to the chaos that REST API might cause:
-
Clean API between backends and frontends
-
Less communication overhead and fewer meetings
-
No more time spent writing API documentation
-
No more time spent trying to figure out an API
-
Great tooling for your API
With GraphQL, it takes literally 5 minutes for a new engineer to learn how to use your API. And that includes the time they need to understand how to write basic GraphQL queries. So whether you’re a Lightning, React, Angular, Ember, iOS or Android developer: take some time to learn about GraphQL, use it in your next project and try to convince your colleagues or your boss to start adopting it. You won’t regret it.
In this blog, I’ll show you on how to deploy a simple Graphql server on Heroku. I’m considering the following stack to show my example:
-
NodeJS server - Node.js is an open-source, cross-platform JavaScript run-time environment that executes JavaScript code server-side. Historically, JavaScript was used primarily for client-side scripting, in which scripts written in JavaScript are embedded in a webpage’s HTML and run client-side by a JavaScript engine in the user’s web browser.
-
Mongo using Mongoose - Mongoose provides a straight-forward, schema-based solution to model your application data. It includes built-in typecasting, validation, query building, business logic hooks and more, out of the box.
-
Express - Express is a minimal and flexible Node.js web application framework that provides a robust set of features for web and mobile applications.
-
GraphQL (using apollo-server) - Apollo Server is a library that helps you connect a GraphQL schema to an HTTP server in Node. Apollo Server works with any GraphQL schema built with GraphQL.js, so you can build your schema with that directly or with a convenience library such as graphql-tools. You can use Apollo Server with all popular JavaScript HTTP servers, including Express, Connect, Hapi, Koa, Restify, and Lambda
Below is how a GraphQL server look like:
import express from 'express';
import bodyParser from 'body-parser';
import { graphqlExpress, graphiqlExpress } from 'apollo-server-express';
import { makeExecutableSchema } from 'graphql-tools';

import { connectToDB } from './database';

// Start the http server
const startServer = async () => {
  const { User } = require('./database/models');

  // GraphQL Typesconst typeDefs = `
    type User {
      _id: ID!
      name: String
      password: String
    }

    type Query {
      users: [User]
    }

    type Mutation {
      addUser(input: UserInput): User
    }

    input UserInput {
      name: String!
      password: String!
    }
  `;

  // GraphQL resolversconst resolvers = {
    Query: {
      users: async () => {
        const res = await User.find();
        return res;
      },
    },

    Mutation: {
      addUser: async(root, args) => {
        const res = await User.create(args.input);
        return res;
      },
    },
  };

  // Define a schemaconst schema = makeExecutableSchema({
    typeDefs,
    resolvers,
  });

  // Initiate express and define routesconst app = express();
  app.use('/graphql', bodyParser.json(), graphqlExpress({ schema }));
  app.use('/', graphiqlExpress({ endpointURL: '/graphql' }));

  // Initiate the server
  app.listen(process.env.PORT || 3000, () => {
    console.log(`Server started on port: ${process.env.PORT || 3000}`);
  });
};

// Connecting to DB and then start the server
const dbConnectAndStartServer = async () => {
  try {
    await connectToDB();
    console.log('Connected to Mongo successfully');
    startServer();
  } catch (err) {
    console.error(`Error connecting to mongo - ${err.message}`);
    process.exit(1);
  }
};

// Entry point
dbConnectAndStartServer();
There is one Mutation which is used to add a user to the mongo collection and one Query which is used to query all the users from the Mongo collection. The only real difference between a mutation and a query is the word mutation. Interestingly, there is nothing stopping a query from including a side effect just like a mutation. It is purely a semantic difference so we can keep our mutations separate. That does not mean it is unimportant. In fact, this is one of the more important separations of concerns. Bottom line, when you do anything that will change the data, call it a mutation.
To add mutations to a schema, we just add the mutation key and pass in Mutation type.
export default new GraphQLSchema({
    query: QueryType,
    mutation: MutationType });
Now let’s connect to the database with below Database.js file:
const { Mongoose } = require('mongoose');

let connection = null;

const connectToDB = async () => {
  const mongoose = new Mongoose();
  mongoose.Promise = global.Promise;

  let mongoUserCredentials = '';
  if (process.env.MONGO_USER && process.env.MONGO_PASSWORD) {
    mongoUserCredentials = `${process.env.MONGO_USER}:${process.env.MONGO_PASSWORD}@`;
  }

  const MONGO_URL = process.env.MONGO_URL || 'localhost:27017';
  const DB_NAME = process.env.MONGO_DB_NAME || 'sample-db';
  const MONGO_CONNECTION_STRING = `mongodb://${mongoUserCredentials}${MONGO_URL}/${DB_NAME}`;

  await mongoose.connect(MONGO_CONNECTION_STRING);
  connection = mongoose;
};

const getDB = () => {
  if (!connection) {
    throw new Error('Call connectToDB first');
  }
  return connection;
};

module.exports = {
  connectToDB,
  getDB,
};
Don’t worry about environment variables for now.
Its Heroku time :
Download the code from here: sfdcbrewery and execute following commands
$ git clone https://github.com/sfdcbrewery/Heroku-GraphQL.git

$ heroku login

$ heroku create -a <<app name>>

$ git add .

$ git commit -m "Sfdc Brewery Project"

$ git push heroku master
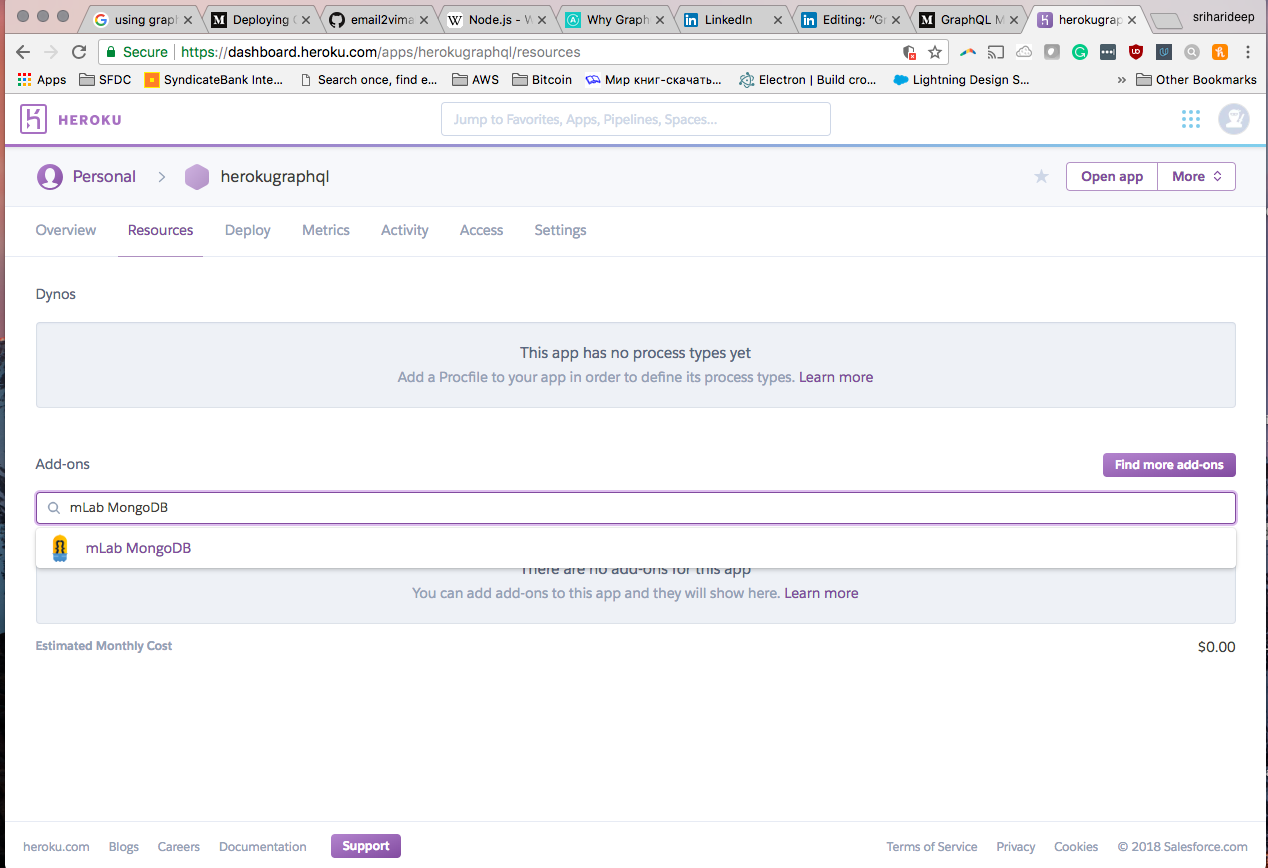
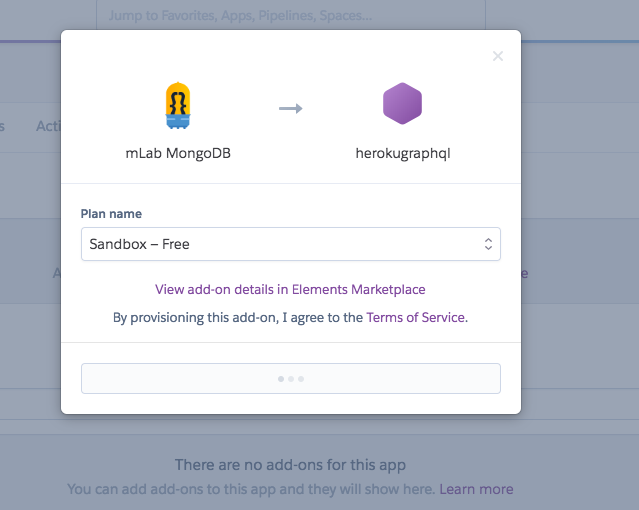
Go to Heroku app dashboard and click the resources tab. Search for mLab MongoDB, in the popup, choose Sandbox — Free and click on Provision. Once provisioned successfully, you can see something like this:
Now launch the MongoDB app by clicking on it. Create a new user by choosing Add User for the menu.

Now that you have set-up the db, lets set the environment variables of our Heroku App. Use the following commands from your terminal to see the app in action:
$ heroku config:set NPM_CONFIG_PRODUCTION=false -a <<<app name>>>

$ heroku config:set MONGO_USER=<<<db user name>>> -a <<<app name>>>

$ heroku config:set MONGO_PASSWORD=<<<db password>>> -a <<<app name>>>

$ heroku config:set MONGO_URL=<<<mongo host name>>>:<<<mongo port number>>> -a <<<app name>>>

$ heroku config:set MONGO_DB_NAME=<<<mongo db name>>> -a <<<app name>>>

$ heroku open
Voila! you are all set to play with GraphQL.
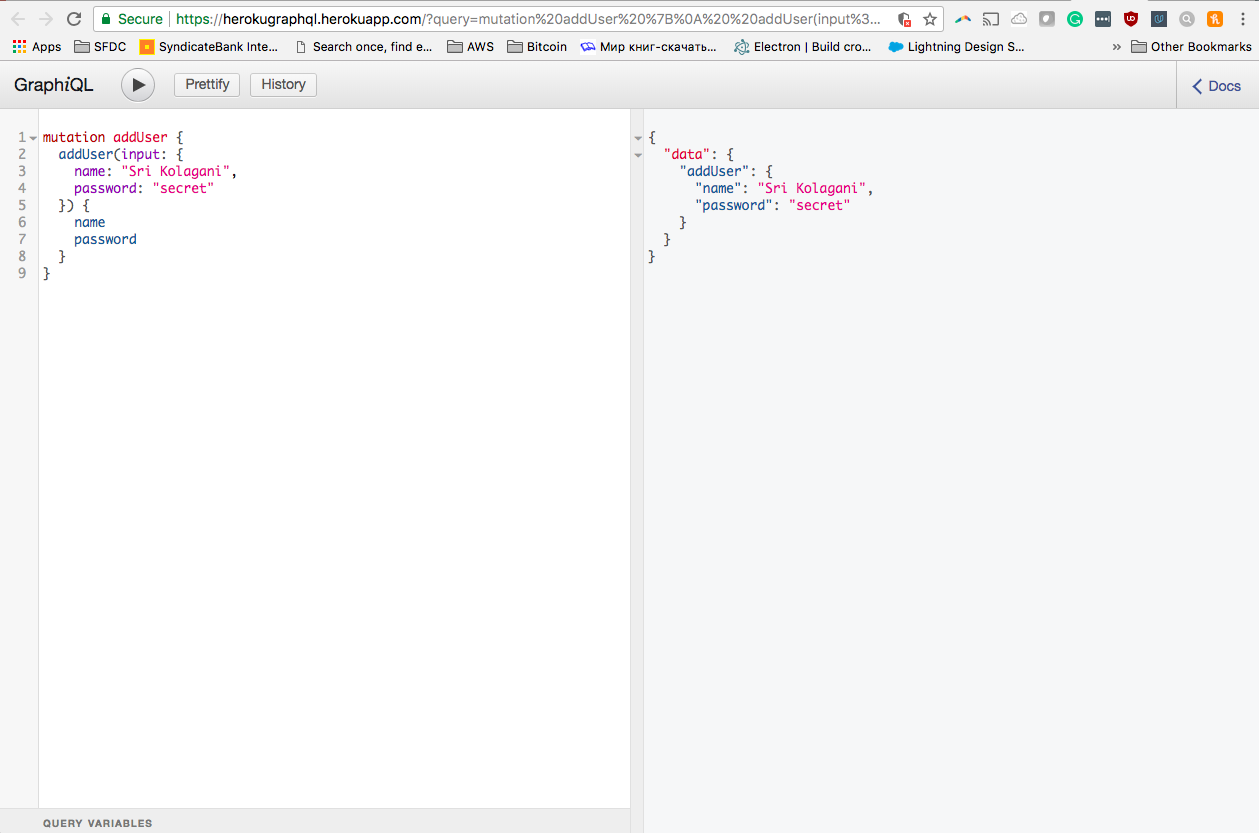
You can enter a mutation as shown below:
mutation addUser {
  addUser(input: {
    name: "Sri Kolagani",
    password: "secret"
  }) {
    name
    password
  }
}
You can query the db as shown below:
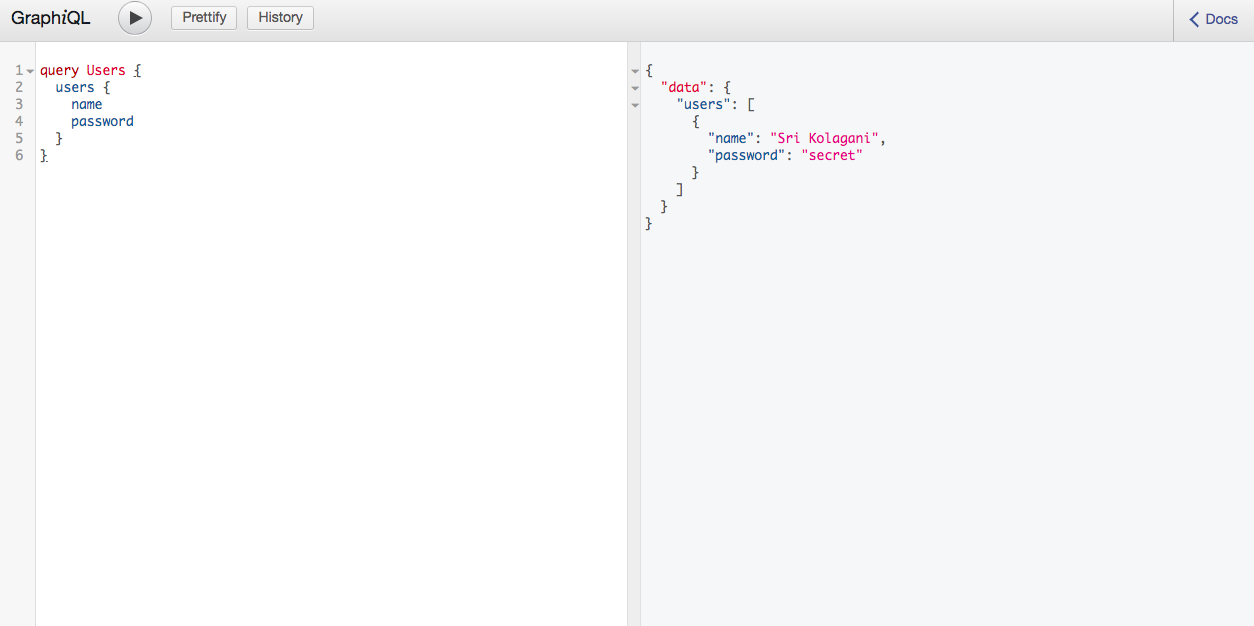
query Users {
  users {
    name
    password
  }
}
Lets shift our gears towards sustainable and prodcutive API implementation with graphQL. If you like my post do share it :)
Github repository is available here
Resources: GraphQL official documentation