Lightning Component Lifecycle

Component rendering lifecycle in Lightning
A component is instantiated, rendered, and re-rendered during its lifecycle. A component is re-rendered only when there’s a programmatic or value change that would require a re-render, such as when a browser event triggers an action that updates its data. Component lifecycle starts with making an HTTP request to the server for the component configuration if its not cached from previous request. It starts with creating the component definition, its entire parent hierarchy, and then creates the facets within those components. The framework also creates any component dependencies on the server, including definitions for attributes, interfaces, controllers, and actions. Custom renderer is useful when you want to interact with the DOM tree after the framework’s rendering service has inserted DOM elements. If you want to customize rendering behavior and you can’t do it in markup or by using the init event, you can create a client-side renderer.
Modifying DOM elements in Lightning Component Framework
Lightning framework creates and manages the DOM elements owned by a component. If you want to modify these DOM elements created by the framework, modify the DOM elements in the handler for the component’s render event or in a custom renderer. Otherwise, the framework will override your changes when the component is re-rendered. Below are the base implementations for the four phases of the rendering and re-rendering cycles:
- render()
- rerender()
- afterRender()
- unrender()


Rendering lifecycle is as follows:
- Init event - Updates a component or fires an event after component construction but before rendering.
- render() - Renders the component body.
- afterRender() - Enables you to interact with framework after the component bodies are inserted.
- render event - handled by the framework is preferred over creating a custom render() and overriding afterRender().
In case of reRender(), the framework calls the individual reRender method of each component when there a significant even based data change. render event is again fired after this.
We have the below two approaches to work with the DOM elements using Lightning framework:
- Out of the box render Event
- Custom Renderer
Out of the box render event
When a component is rendered or re-rendered, the aura:valueRender event, also known as the render event, is fired. Handle this event to perform post-processing on the DOM or react to component rendering or rerendering. The event is preferred and easier to use than the alternative of creating a custom renderer.
Handling the aura:valueRender event is similar to handling the init hook. Add a handler to your component’s markup.
<aura:handler name="render" value="{!this}" action="{!c.onRender}"/>
Custom renderer
You should go with custom renderer only if:
- Work with the DOM tree after the framework’s rendering service has inserted DOM elements.
- Customize rendering behavior thats not possible with the markup or init event.
A renderer file is part of the component bundle and is auto-wired if you follow the naming convention,
Renderer.js. For example, the renderer for sample.cmp would be in sampleRenderer.js.
Here is the code that demonstrates custom render un-render and re-render:
// c1.cmp
<aura:component>
<aura:attribute name="msg" type="String" />
<aura:attribute name="text" type="String" />
<aura:attribute name="show" type="boolean" default="true"/>
<div><b>{!v.msg}</b></div>
<div><b>{!v.text}</b></div>
<aura:if isTrue="{!v.show}">
<c:c2 />
<aura:set attribute="else">
Component is not rendered!!!
</aura:set>
</aura:if>
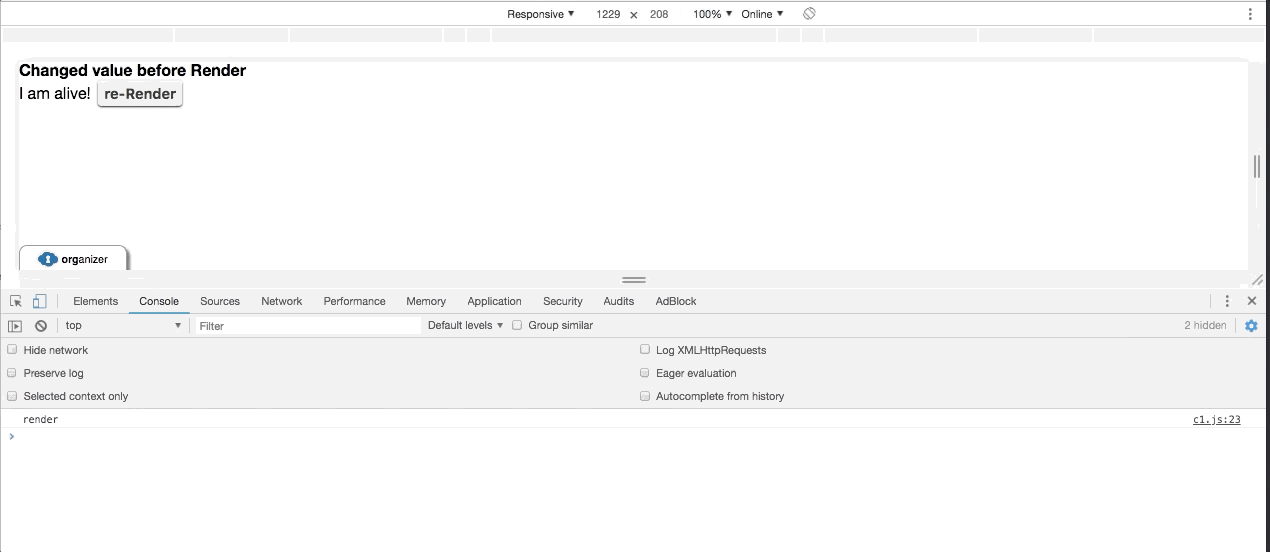
<ui:button aura:id="button" label="re-Render" press="{!c.update}"/>
</aura:component>
// c1Controller.js
({
update : function(component, event, helper) {
alert('button clicked');
component.set("v.text","Changed value after Rerender");
component.set("v.show","false");
}
})
//c1Renderer.js
({
render: function(cmp, helper) {
console.log('render');
helper.changeValueRender(cmp);
return this.superRender()
},
rerender: function(cmp, helper) {
console.log('rerender');
return this.superRerender()
},
})
//C2.cmp
<aura:component >
I am alive!
</aura:component>
//c2Renderer.js
({
unrender : function (cmp, helper) {
console.log('Component 2 unrender ');
return this.superUnrender();
},
})
// Render.app
<aura:application >
<c:c1 />
</aura:application>
PS:
- Render and after-render are only called once in the lifecycle.
- Perform DML in afterRender rather than render function.
- Use the functions only if you need to heavily modify the DOM.
- For third party libraries, use un-render to make the app faster and smarter.
- Try to use the framework provided render() event as a best practice.